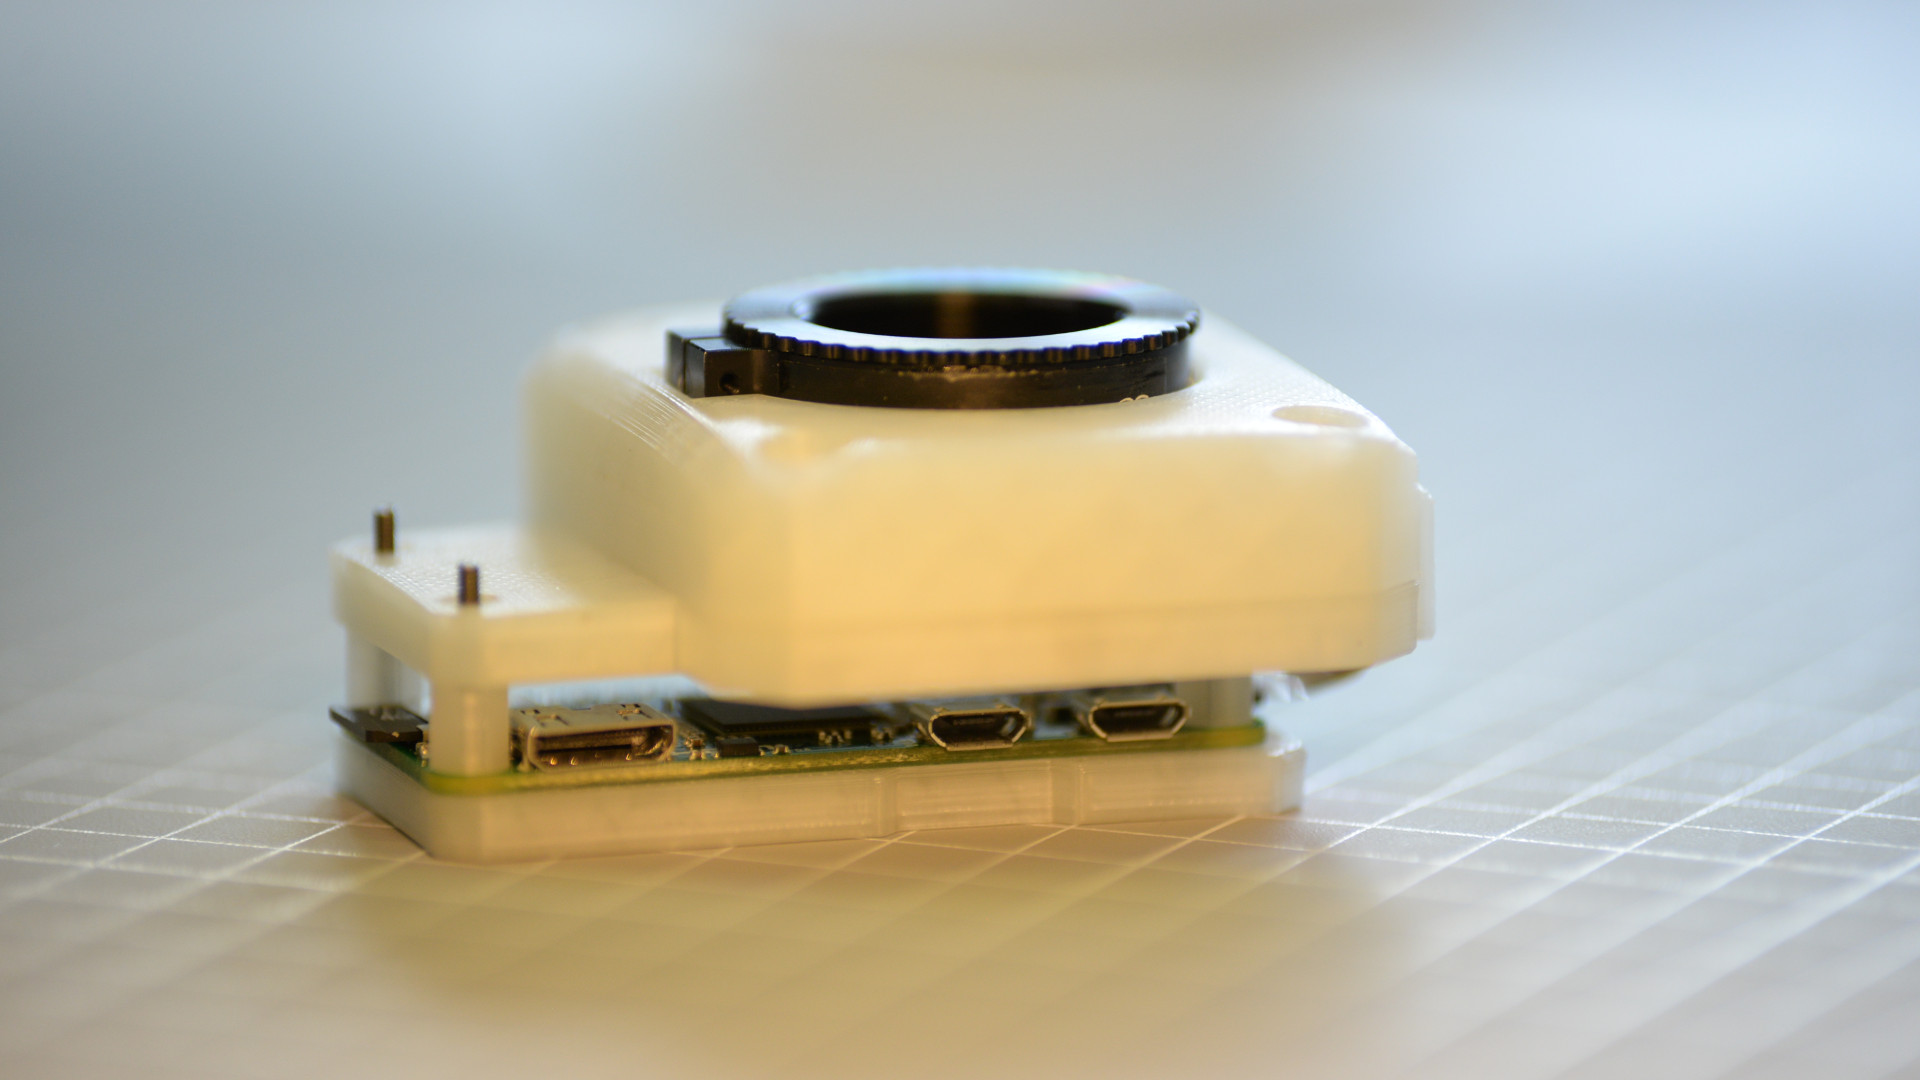
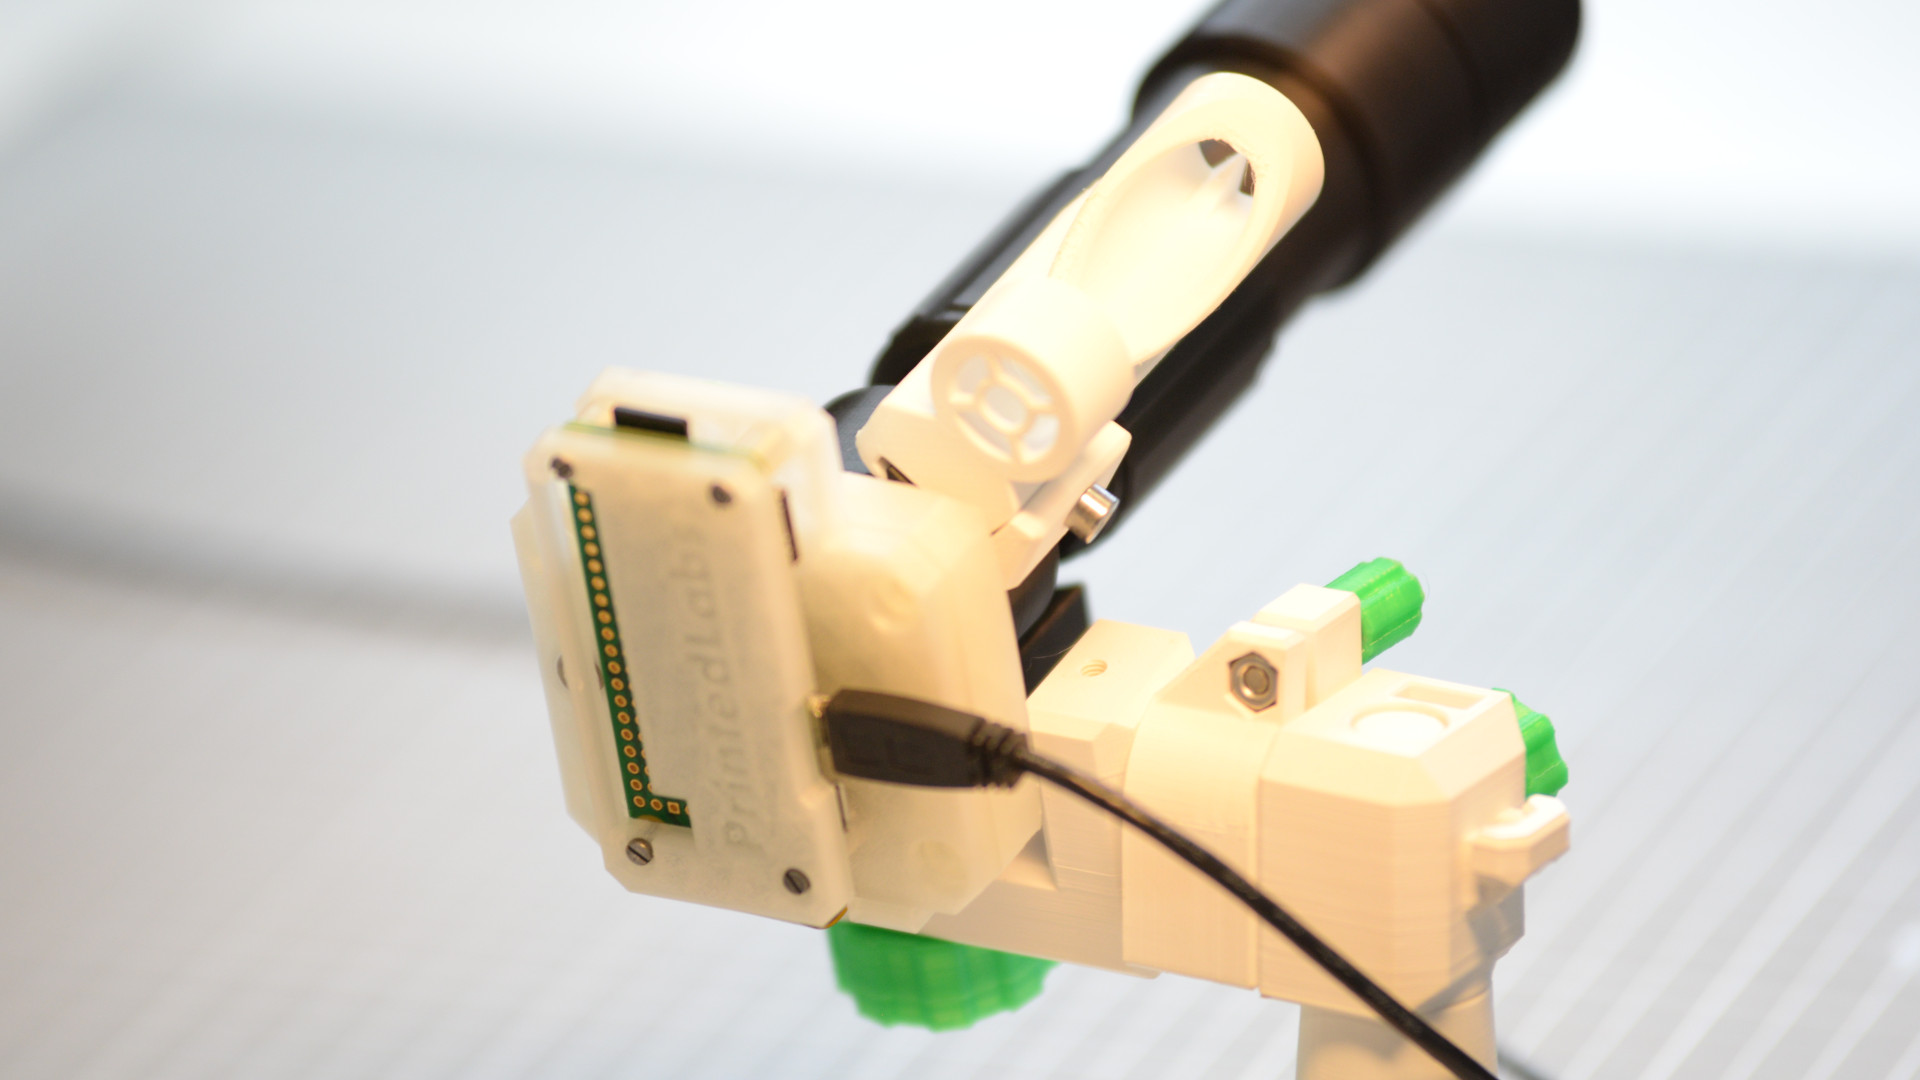
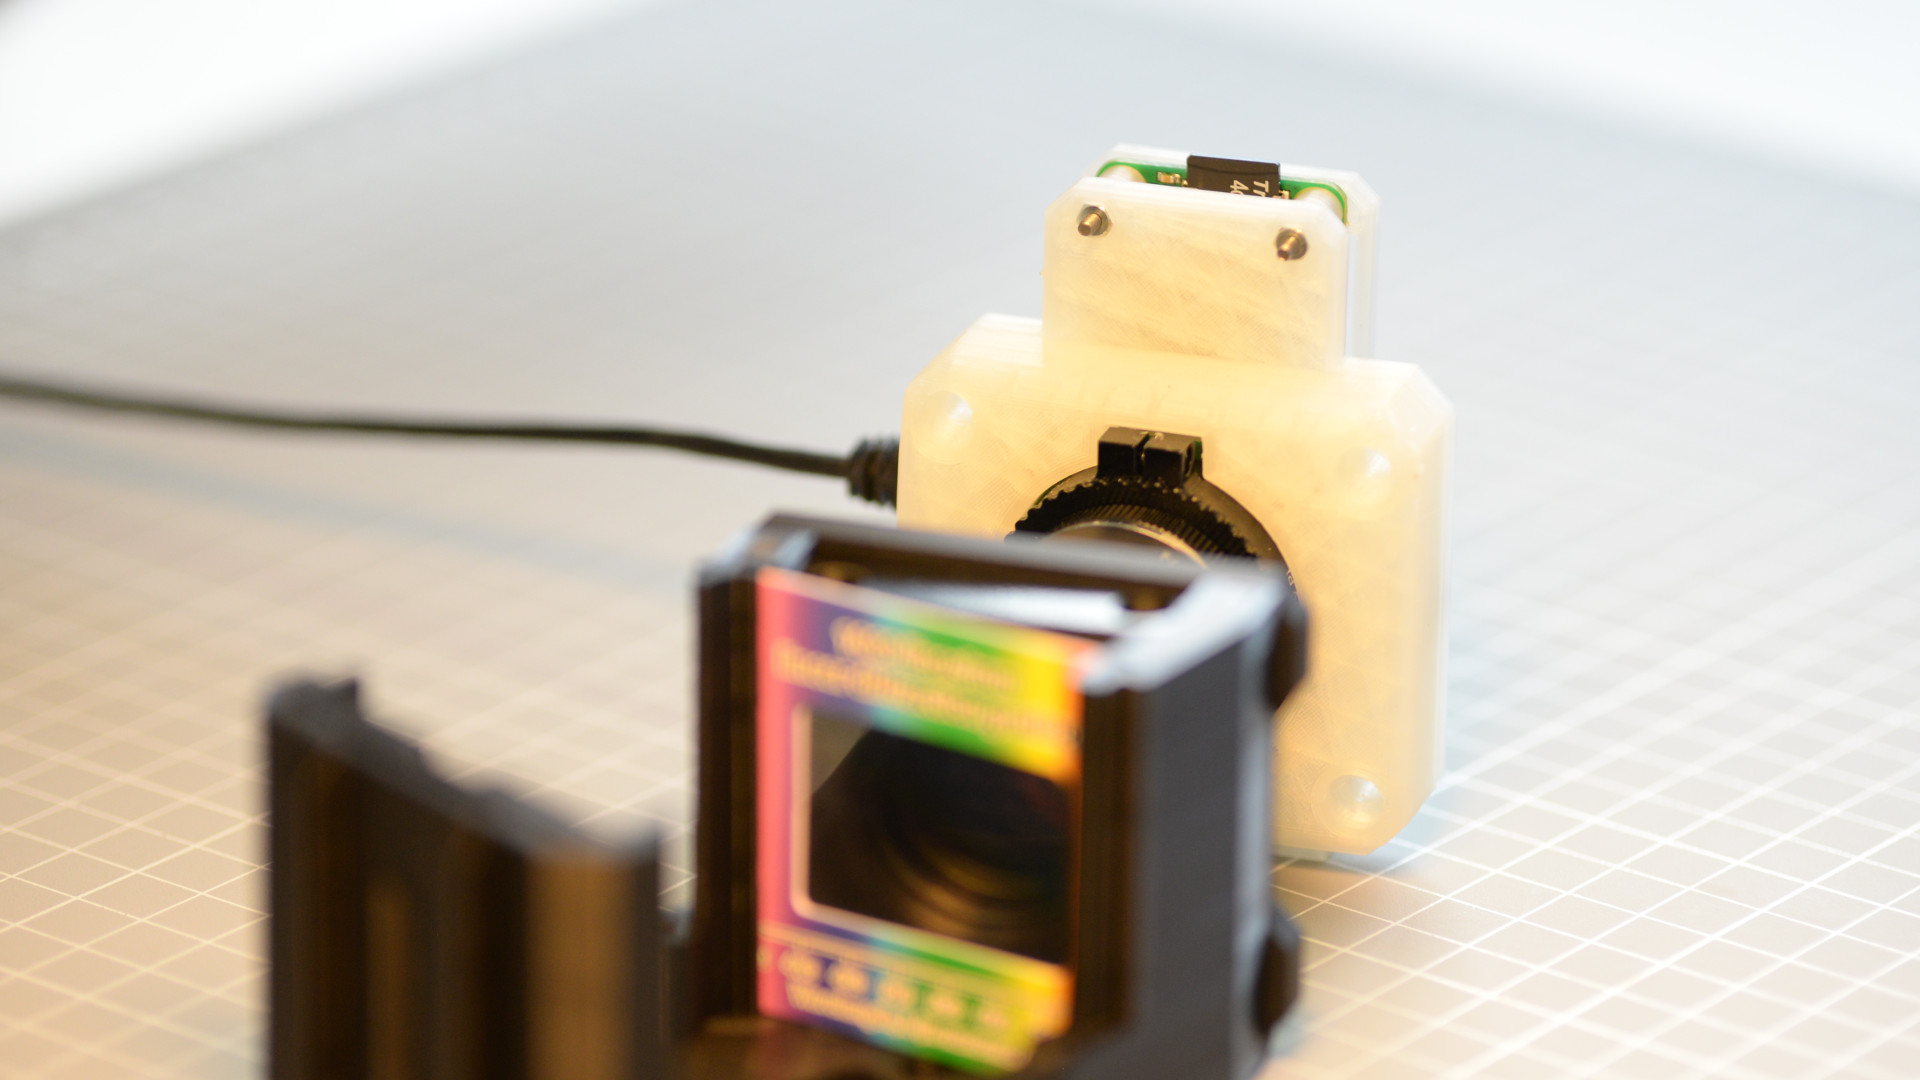
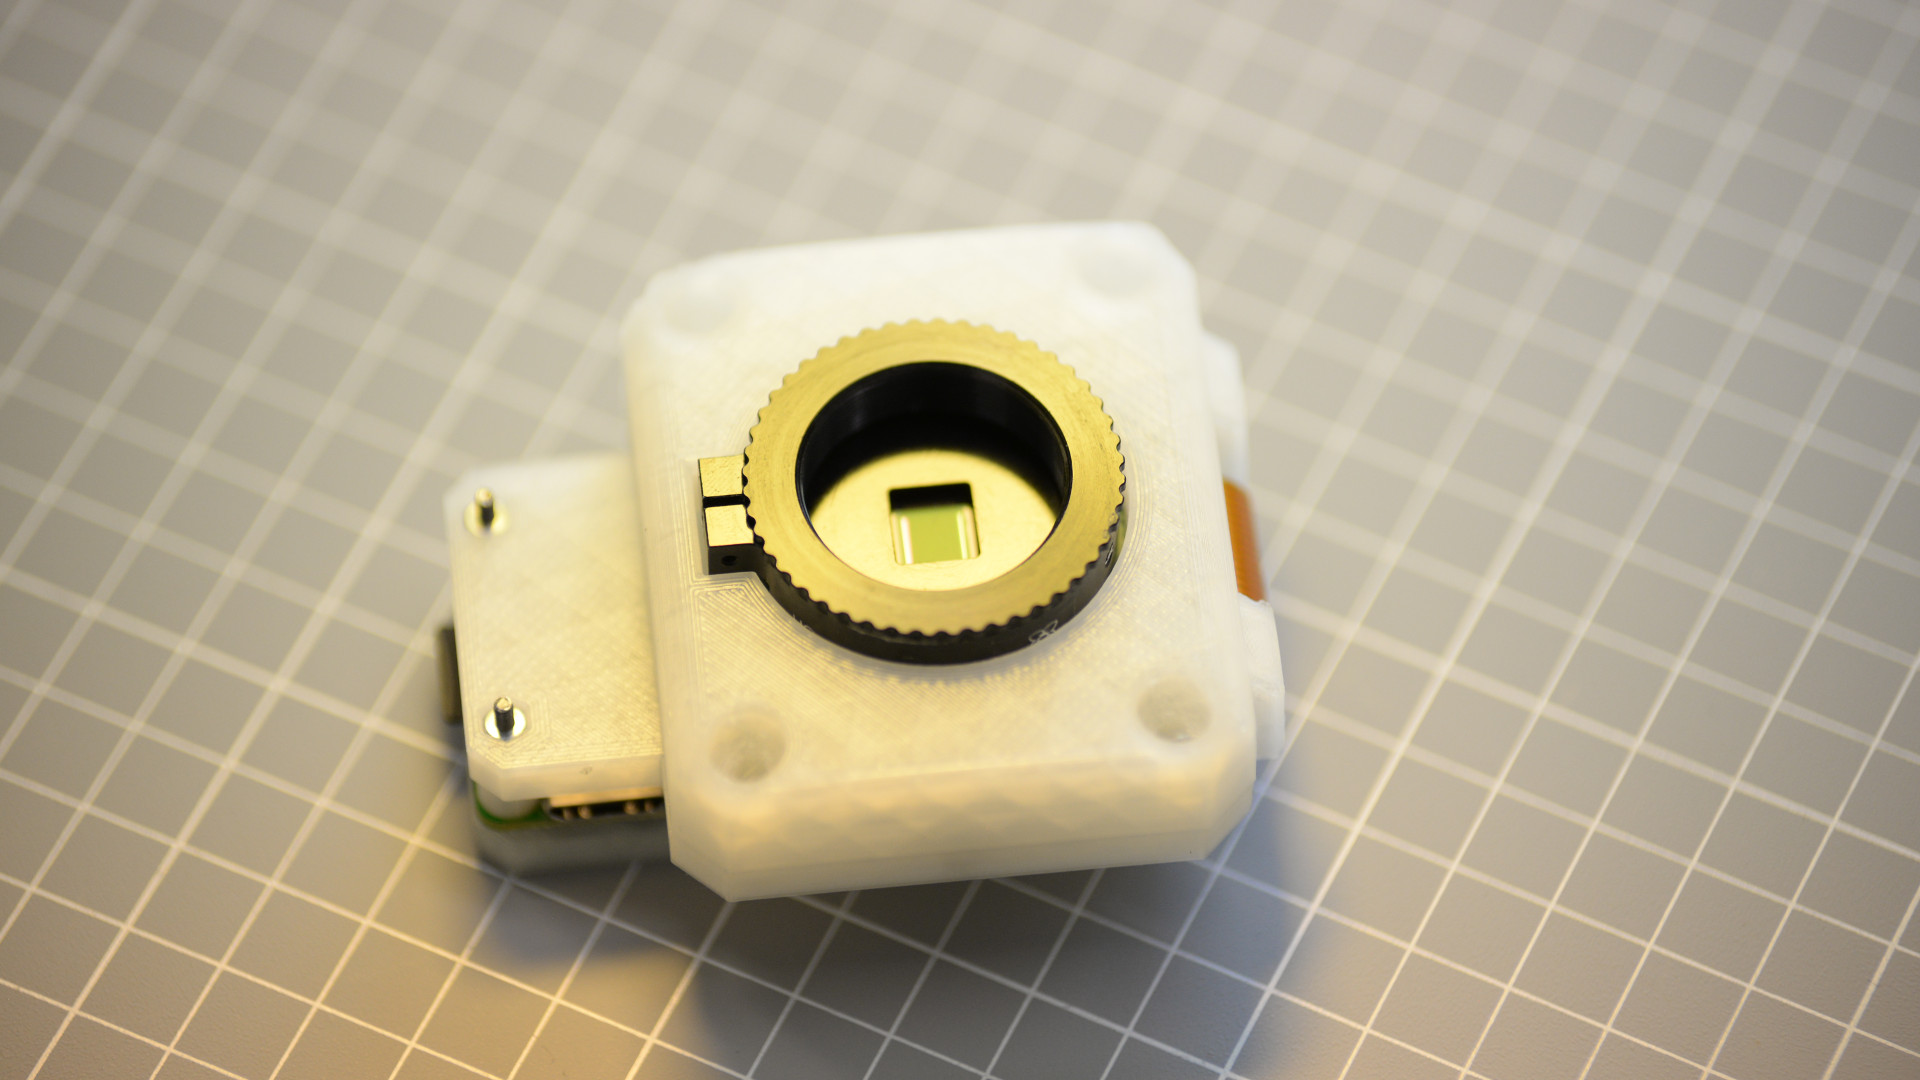
Camera housing for the Raspberry Pi HQcam
This case combines the Raspberry Pi - HQ camera module with a Raspberry Pi Zero / Zero W. Connected with the 3.8 cm flex cable, the unit turns into a low-cost but efficient C-mount camera. Equipped with a powerful Sony IMX477R image sensor, it offers a wide range of possibilities for various applications and own camera projects. Furthermore, the camera can be used as a webcam by installing the open-source image from showmewebcam (GitHub). Via UVC (USB Video Device Class), the camera can then also be read and used via our imaging software ScopeControl or spectrometer software [SpecControl](/software/_speccontrol/speccontrol. Everything about printing, assembling and installing the webcam image can be found in our tutorial.
The C-mount camera requires:
- 3D printed components
- Raspberry Pi HQ camera module
- Raspberry Pi - Zero / Zero W
- 3.8 cm flex cable
- Four M2x18 screws (alternatively M2x20, but not longer)
- Four M2x6 screws
- Two M4x6 screws
For details on printing and how to assemble our mini telescope, check out our assembly tutorial.
Download and accessories
DOWNLOAD
The required model files can be downloaded here at www.Thingiverse.com.
All components have 20% infill density and are oriented so that they can be printed without supports.
Component overview
Camera housing
The whole housing consists of three components which are connected by M2 screws and nuts.
- RaspiHQcam-CamHousing.stl (Housing element for mounting the Rasperry camera module)
- RaspiHQcam-CamPiconnector.stl (Connecting part between camera module and housing element of the Raspberry Pi )
- RaspiHQcam-PiFrame.stl (Case element for mounting the Raspberry Pi)
- RaspiHQcam-Mountadapter.stl (Adapter with M6 and UNC thread for mounting the camera to a tripod)
Impressions


